
The remodel is done. The dust is gone. Light from the window hits the new floor or shower wall, and the porcelain tile looks exactly the way you hoped it would. Clean lines, crisp grout joints, no dated finish, no worn vinyl, no old builder-grade surface.
That's usually the moment homeowners start asking the practical question. How do I keep it looking like this?
That question matters more than is commonly recognized, especially in Northern Colorado. Hard water leaves mineral film. Dry stretches bring in grit that acts like sandpaper under shoes. Summer bathroom humidity can linger in grout and corners longer than is typically anticipated. And one detail many cleaning guides still miss can cause real damage on newer installations. Cleaning porcelain tile today is not always the same as cleaning porcelain tile from older generations.
Your New Porcelain Tile Deserves the Best Care
A new porcelain floor or shower surround isn't just another surface to wipe down. It's part of the investment you made in the room. In kitchens, it handles splashes, chair movement, dropped utensils, and daily traffic. In bathrooms, it has to stand up to soap residue, moisture, and hard-water spotting.
That durability is one reason porcelain keeps showing up in current remodels. The tile cleaner market was valued at USD 2.8 billion in 2023 and is projected to reach USD 4.2 billion by 2032, reflecting porcelain's growing popularity in modern architecture, especially in high-traffic residential and commercial settings where durability and low porosity matter, according to tile cleaner market projections.
In practice, that popularity makes sense. Porcelain gives homeowners the look of stone, concrete, or wood with a surface that fits busy households better than many natural materials. A lot of clients choose it because they want something attractive that doesn't demand constant babysitting. If you're comparing formats and style directions, this guide to 12 x 12 porcelain tile shows why porcelain remains such a practical option in kitchens and baths.
What homeowners usually notice first
Homeowners rarely highlight porcelain's technical specifications after the installation is complete. They notice something simpler:
- The room feels brighter: Light bounces differently off a clean porcelain surface.
- The space feels finished: Good tile makes cabinetry, fixtures, and paint all look sharper.
- The maintenance seems easy at first: That's true, but only if the cleaning routine matches the tile.
Practical rule: The best time to protect porcelain tile is right after installation, before residue buildup, hard-water film, and the wrong cleaners start changing the finish.
Porcelain earns its reputation for toughness, but that doesn't mean every cleaner is fair game. A smart care routine protects the glaze, keeps grout from becoming the weak link, and helps the room stay close to that just-remodeled look.
Why early habits matter
Small habits decide whether porcelain stays crisp or starts to look cloudy. Grit dulls the finish over time. Cleaner residue leaves haze. Standing moisture around grout joints creates a maintenance problem that people often blame on the tile itself.
That's why the right approach isn't about scrubbing harder. It's about using the right chemistry, the right tools, and the right timing from the start.
Establishing Your Porcelain Tile Cleaning Routine
Routine care does most of the work. If you stay ahead of dust, grit, and residue, deep cleaning becomes less frequent and a lot less frustrating.
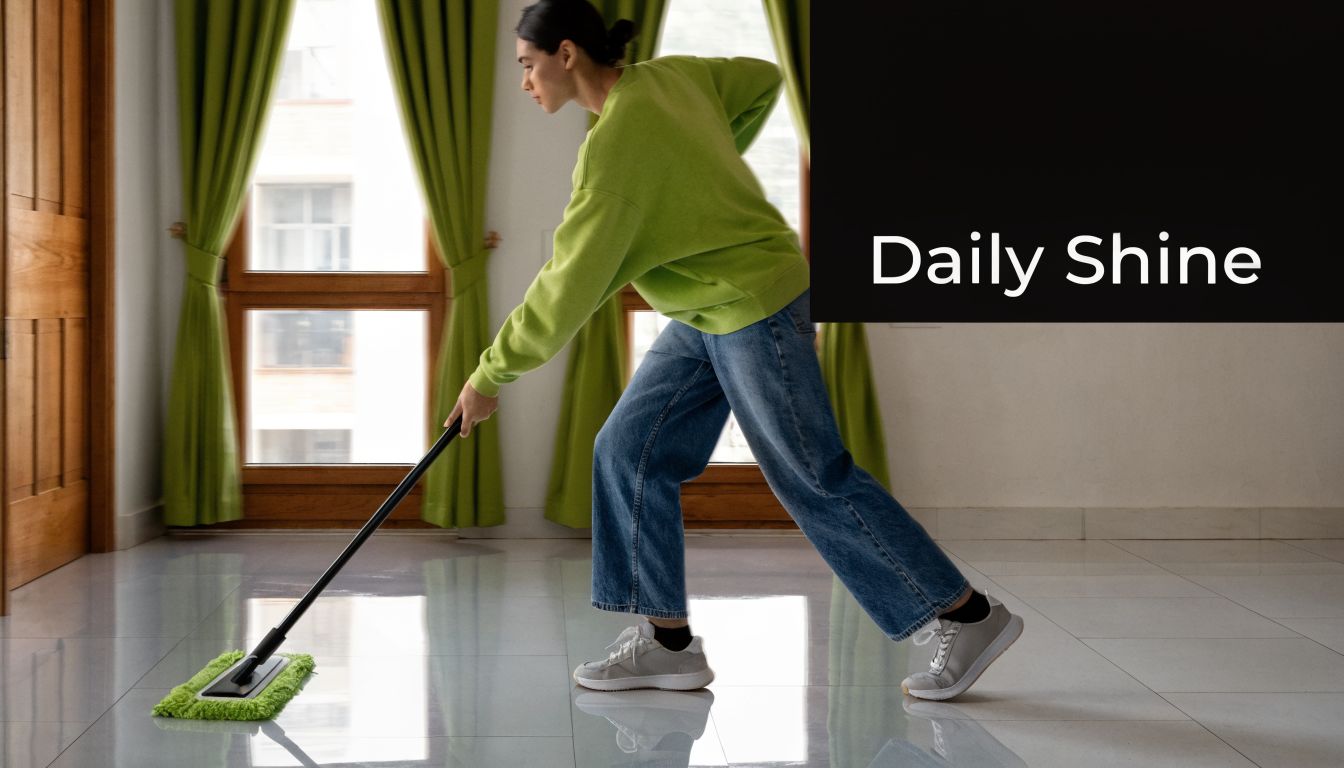
Daily care that prevents wear
The daily job is dry soil removal. Sweep with a soft broom or use a vacuum that won't scratch the tile. On kitchen floors, this matters around the sink, island, pantry entry, and stove line where crumbs and grit collect fast.
In Northern Colorado, this step matters even more because tracked-in dust can be surprisingly abrasive. A floor may look clean from standing height and still have enough fine grit on it to dull the surface over time.
Use this simple rule:
- For open floors: Sweep or vacuum regularly so debris doesn't get ground in.
- For bathrooms: Focus on hair, dust, and dried product residue around vanities and toilet bases.
- For entry-adjacent tile: Clean more often during windy stretches and snowy months when outside material gets tracked in.
Weekly wet cleaning that actually works
Manufacturers recommend a neutral pH (6 to 8) detergent diluted at 1 to 2 oz per gallon of hot water, and allowing the solution to dwell for 3 to 5 minutes improves effectiveness on light soils by up to 30 to 40%. Rinsing with clean water is also critical to prevent haze, according to Daltile's care guidance for ceramic and porcelain tile.
That guidance lines up with what works on real remodels. The floor doesn't need a heavy, perfumed cleaner. It needs a neutral cleaner, proper dilution, a little dwell time, and a clean rinse.
A practical weekly process looks like this:
- Dry clean first: Don't mop loose grit around.
- Mix the cleaner correctly: More product doesn't mean a cleaner floor. It often means more residue.
- Apply with a microfiber mop: Microfiber lifts soil without leaving the heavy water load that old string mops often leave behind.
- Let it sit briefly: Give the solution time to loosen light kitchen film or bathroom residue.
- Rinse with fresh water: This matters in hard-water areas because residue plus minerals is how floors start looking streaky.
- Dry the surface: A dry microfiber pad or cloth helps reduce spotting.
Use one bucket for cleaner and one for rinse water if you want a cleaner result. Otherwise, you're often spreading diluted soil back across the tile.
Tools worth keeping on hand
You don't need a janitorial closet full of gear. A few good tools are enough:
- Microfiber dust mop: Best for frequent dry pickup.
- Microfiber wet mop: Better than sponge mops for reducing streaks.
- Soft brush: Useful for textured tile and tight corners.
- Two buckets: One for cleaning solution, one for rinse water.
- Dry microfiber cloths: Ideal for final buffing in bathrooms and around hard-water zones.
What doesn't work well? Dirty mop heads, overconcentrated cleaner, and flooding the floor. Those three habits cause more haze and grout issues than often expected.
Performing a Deep Clean on Your Porcelain Tile
Routine maintenance handles everyday mess. Deep cleaning is different. It's what you do when the floor still looks dingy after regular mopping, when shower tile has soap buildup, or when textured porcelain starts holding grime in its surface pattern.

Start by clearing the area
Remove rugs, small furniture, hampers, and anything else sitting on the tile. Dry sweep or vacuum carefully before any liquid touches the surface. If you skip this part, you turn loose grit into slurry and make the job harder.
For bathrooms, deep cleaning usually works best when the room has time to dry afterward. Open a window if conditions allow, or run the exhaust fan so moisture doesn't sit in corners and grout lines.
Work in manageable sections
One mistake homeowners make is applying cleaner across the whole floor at once. By the time they circle back with the mop, the solution has partly dried or left a film. Smaller sections are easier to control and easier to rinse thoroughly.
For floors, divide the room into zones and finish one before moving on. For shower walls, start low enough that you can rinse and wipe properly without cleaner sitting too long on the surface.
A solid deep-clean sequence looks like this:
- Clear and dry clean: Remove debris first.
- Apply neutral cleaner: Use enough to wet the surface without flooding it.
- Allow dwell time: Let the product loosen the soil.
- Agitate gently: Use a soft-bristle brush for textured porcelain or grout lines.
- Rinse completely: Fresh water removes loosened grime and cleaner residue.
- Dry the tile: Complete this step to avoid a second round of spotting.
Where extra attention pays off
Some parts of a porcelain installation collect grime faster than the rest:
| Area | What builds up | Best approach |
|---|---|---|
| Kitchen in front of range | Grease film and dust | Neutral cleaner, dwell, microfiber rinse |
| Around toilet base | Cleaner residue and splashback | Careful hand cleaning with soft cloth and brush |
| Shower floor texture | Soap film and trapped soil | Soft brush plus thorough rinse |
| Backsplash near sink | Hard-water splash and food residue | Frequent wipe-down before buildup sets |
Hard-water film in Northern Colorado
Northern Colorado homeowners often deal with mineral residue around sinks, shower walls, and floors near wet zones. You'll usually see it first as dullness, spotting, or a chalky film that regular mopping doesn't fully remove.
For that kind of buildup, use a porcelain-safe acidic cleaner sparingly and only when the residue is mineral-based, not as part of routine weekly care. Test a small area first, follow the product label, and rinse completely. The goal is to dissolve mineral deposits without leaving another residue behind.
Most “dirty-looking” porcelain isn't permanently stained. It's carrying a layer of residue, soap film, mineral buildup, or cleaner left behind from earlier mopping.
Deep cleaning textured and wood-look porcelain
Textured and wood-look porcelain need a little more patience. Flat glossy tile releases dirt more easily. Tile with grain, relief, or slip-resistant texture holds onto residue inside the pattern.
A soft scrub brush helps here. Brush with the texture instead of attacking it from every angle, then rinse thoroughly. If you leave loosened soil in the low spots, the floor can dry looking worse than before.
For large floors, don't chase speed. Controlled sections, proper rinsing, and full drying are what separate a successful deep clean from a frustrating one.
How to Remove Specific Stains from Porcelain Tile
Porcelain is resistant, but kitchens and baths still throw specific messes at it. The key is matching the cleanup method to the problem without jumping straight to aggressive chemistry.
Start with the least aggressive option. A neutral cleaner and soft cloth will solve more than people think, especially if the mark is fresh. If that doesn't move it, shift based on the stain type.
Porcelain Tile Stain Removal Guide
| Stain Type | Recommended Cleaning Agent | Application Method |
|---|---|---|
| Grease or cooking oil | Neutral pH porcelain-safe cleaner | Apply to the spot, allow brief dwell time, wipe with microfiber, then rinse |
| Coffee | Neutral cleaner first | Blot, clean with a soft cloth, rinse, and dry |
| Wine | Neutral cleaner first | Wipe promptly, avoid letting it sit in grout joints, rinse well |
| Ink or marker | Porcelain-safe spot cleaner recommended by the tile or cleaner manufacturer | Test in an inconspicuous area, apply with cloth, wipe gently, rinse |
| Rust-colored mark | Porcelain-safe cleaner intended for mineral or rust residue | Spot test first, apply carefully, rinse completely |
| Soap scum | Neutral cleaner for light buildup, porcelain-safe acidic cleaner for mineral-heavy residue | Apply, allow time to loosen film, scrub lightly if needed, rinse and dry |
| Hard-water spotting | Porcelain-safe acidic cleaner used sparingly | Treat the mineral film, rinse thoroughly, then buff dry |
A few judgment calls matter
Grease and drink spills are usually straightforward if you catch them early. Rust-colored marks and hard-water film need more caution because they often tempt people into using whatever strong product is already under the sink.
If your issue is mineral spotting on nearby glass as well as tile, this guide on exterior cleaning by Cultivate House Detailing is a useful companion for understanding how hard-water residue behaves on surfaces around the home. The chemistry problem is similar even though the cleaning method should still be specific to porcelain.
What not to do when a stain won't move
Don't escalate too quickly with steel wool, abrasive pads, or random internet remedies. Those shortcuts can damage the finish, especially on polished or newer tile. Also don't keep layering cleaner on the spot without rinsing. At that point, you may be looking at residue from the cleaning attempt, not the original stain.
When a mark stays put after a careful first attempt, stop and identify whether it's organic residue, mineral buildup, grout haze, or surface damage. That diagnosis matters more than force.
A Complete Guide to Grout Care
Grout changes the whole look of a tile installation. You can have beautiful porcelain and still have the room feel tired if the grout is darkened, patchy, or moldy. That's because grout is more vulnerable than the tile around it. It traps moisture, holds onto soil, and shows neglect fast.
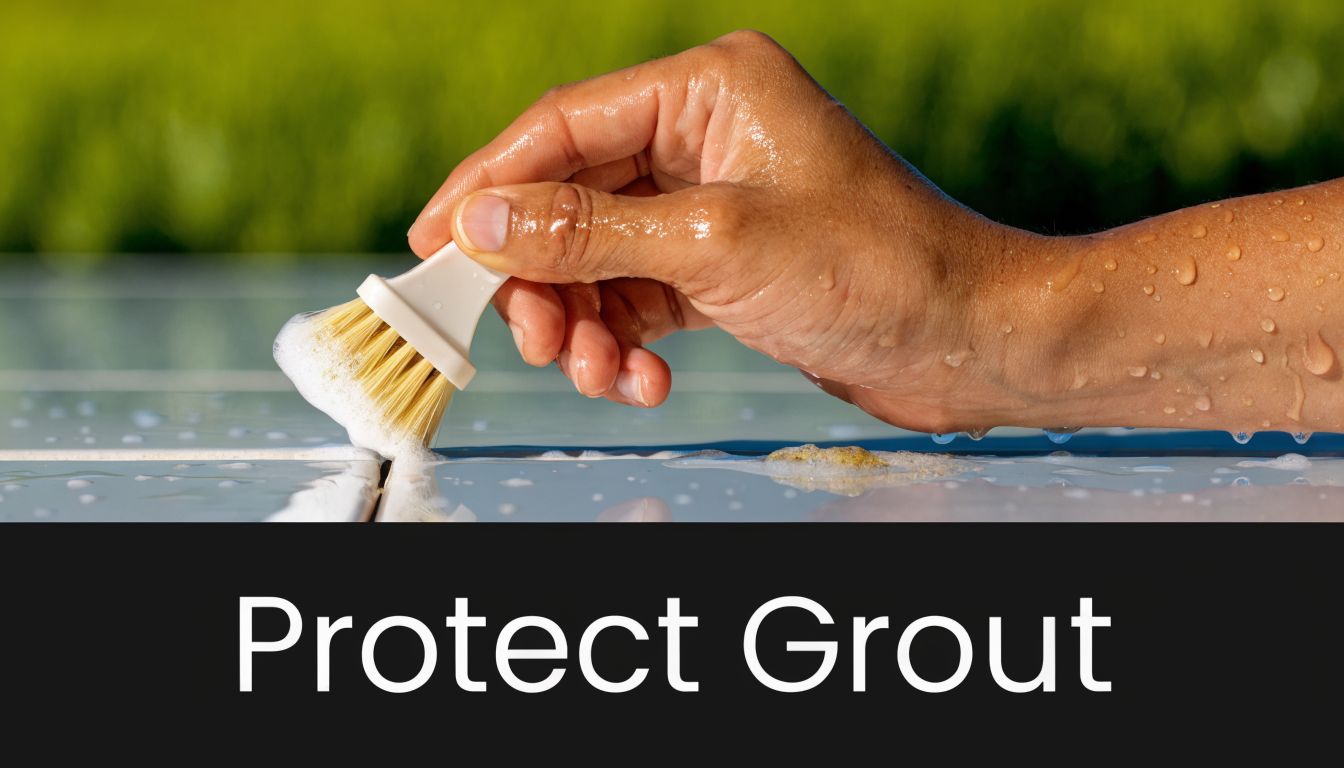
Clean grout gently but consistently
The safest grout routine is simple. Dry remove dust first, then clean with a neutral tile-safe solution and a small soft brush. Work the brush along the joint line instead of scrubbing across it aggressively.
That approach does two things. It pulls out the soil that settles into the grout's texture, and it avoids unnecessary wear from harsher methods. For homeowners comparing maintenance approaches, this resource on how to clean tile grout can help you think through safe habits before damage starts.
A good grout-cleaning process usually looks like this:
- Vacuum the joints first: Loose dust turns muddy when wet.
- Apply a tile-safe cleaner: Keep it controlled. Don't flood the floor.
- Use a detail brush: A small nylon brush gives better control than a large scrub brush.
- Rinse well: Dirty solution left in the joints dries into fresh discoloration.
- Dry the area: Especially important in bathrooms and shower entries.
Bathroom grout needs a prevention plan
In high-humidity bathrooms, a frequent complaint is persistent mold in grout within 6 months of a remodel. Instead of relying on daily harsh sprays, applying a silica-based sealer every 6 to 12 months can cut mold growth significantly and reduce slip risks on wet floors by up to 25%, according to Carpet Tech's porcelain tile cleaning guidance.
That advice tracks with what works in bathrooms here. Summer humidity, repeated shower use, and corners that don't dry well can keep grout damp longer than expected. A sealer won't replace cleaning, but it gives the grout a better chance.
In bathrooms, prevention beats overcleaning. If grout stays protected and the room dries well, you won't need to attack it with harsh sprays every day.
If you're planning a remodel or evaluating an existing one, grout color also affects how maintenance shows over time. Lighter grout can look fresh and bright, but it will reveal neglect sooner. Darker grout hides some day-to-day soil better. This guide on how to select grout color is useful when balancing style with real-life upkeep.
Where mold starts and how to slow it down
Problem areas are usually predictable:
- Shower floor edges: Water lingers where slope changes.
- Tub surrounds: Corners and lower joints stay damp.
- Behind toilets and vanities: Air movement is weaker.
- Bathroom entry tile: Damp bath mats trap moisture against grout.
Here's a helpful visual walkthrough before tackling a stubborn bathroom floor or shower surround:
Run the exhaust fan during and after showers. Hang bath mats to dry. Wipe down shower walls and floors when you can. Those habits sound basic, but they keep the grout from staying wet long enough to invite recurring growth.
Avoid These Common Porcelain Tile Cleaning Mistakes
The biggest mistake in cleaning porcelain tile is assuming all porcelain behaves the same. It doesn't. That old advice to use almost any household floor cleaner can cause trouble on newer tile.
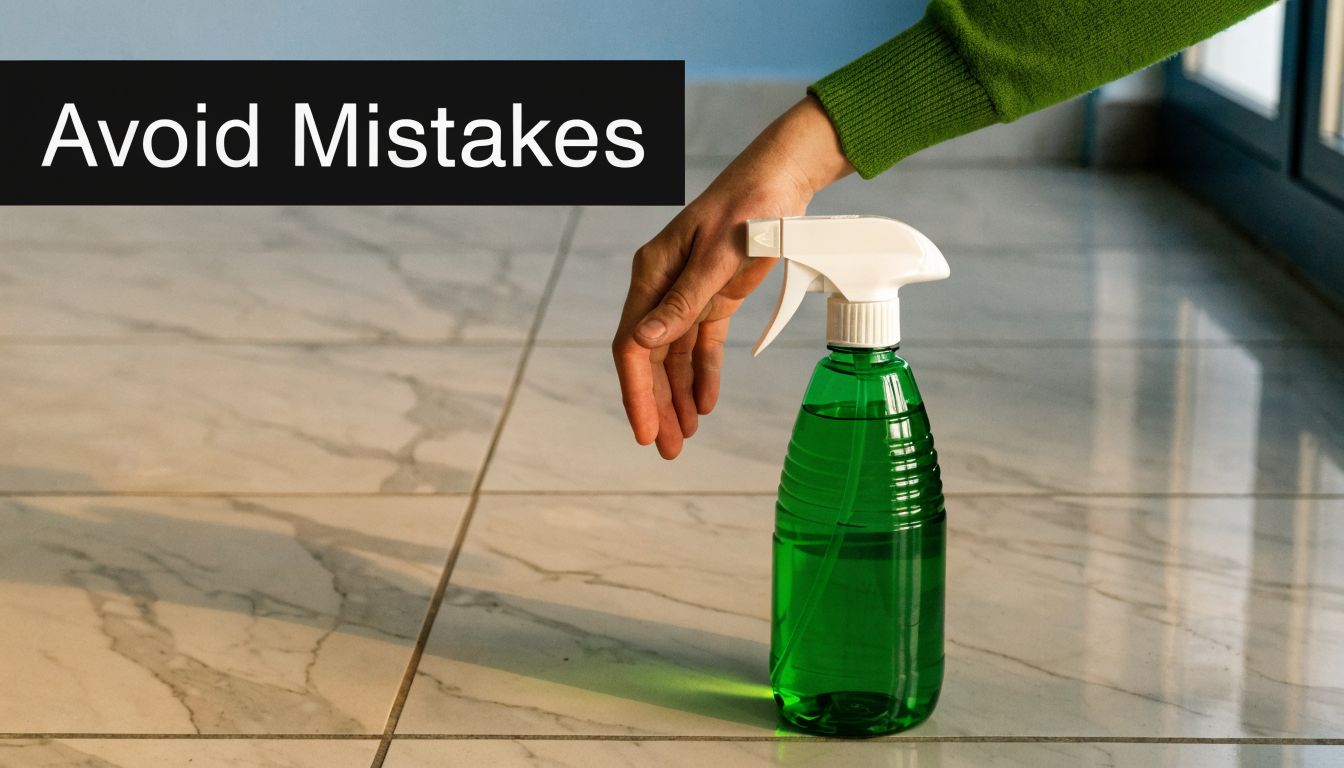
The modern porcelain problem most guides miss
Porcelain tiles manufactured since 2018 are often more easily damaged by alkaline cleaning agents, which are found in about 70% of consumer cleaners, due to changes in glazing processes. When high-alkaline products are allowed to dry on these newer floors, they can cause dramatic, splotchy marking that gets worse with each cleaning cycle, as described in the porcelain tile cleaning paradox discussion.
That's the detail many homeowners never hear. They use the same cleaner that worked on an older tile floor, then start noticing odd blotches, haze, or uneven marks that seem impossible to remove. The problem may not be dirt. It may be damage from the cleaner itself.
Mistakes that keep showing up on remodels
Some cleaning habits look harmless but create problems fast:
- Using alkaline household cleaners by default: On newer porcelain, this can be the wrong chemistry entirely.
- Letting cleaner dry on the surface: Any product is harder to control once it starts drying into the finish.
- Using steel wool or metal-edged scrub tools: These can scratch the tile, especially newer surfaces.
- Cleaning with vinegar too often: Acid has a place for specific mineral issues, but it isn't a routine cleaner for every tile condition.
- Applying wax or shine products: Porcelain doesn't need a topical gloss layer, and those products often leave a dulling film.
- Flooding the floor: Extra water pushes grime into grout and leaves more residue behind as it evaporates.
If a floor looks worse after repeated cleaning, stop changing products at random. Figure out whether you're dealing with residue, mineral film, or chemical damage.
Better habits for newer tile
A safer approach is straightforward. Use neutral-pH products, clean in manageable sections, rinse before product dries, and stick with microfiber and soft brushes instead of aggressive scrub tools.
This matters in wet areas too. Floors aren't the only surfaces that need the right maintenance plan. Shower transitions, corners, and joint lines need attention as well. If you're checking those vulnerable spots, this guide on caulking for shower helps explain where water-control details often fail before tile itself does.
When it's time to call a professional
Some situations are worth handing off:
- The floor has splotchy marks that appeared after cleaning
- Hard-water film keeps returning no matter how carefully you mop
- Textured shower tile still feels dirty after repeated scrubbing
- Grout is dark, moldy, or unevenly stained
- You want a post-remodel maintenance plan without trial and error
A professional can tell the difference between a removable residue problem and a finish issue, and that can save a lot of unnecessary scrubbing.
If you're planning a kitchen or bath remodel, or you want help protecting the tile you already invested in, SouthRay Kitchen & Bath offers Northern Colorado homeowners a practical, design-focused approach from material selection through long-term care. Their team handles kitchen and bathroom renovations with clear pricing, organized project coordination, and personalized 3D previews that help you make better finish decisions before work begins.