
A cabinet door usually doesn’t fail all at once. It starts with a light rub on the frame, a hinge-side sag, or that annoying door that won’t sit flush no matter how many times you push it closed. Most homeowners grab a screwdriver first. Sometimes that works. Just as often, it wastes an hour because the underlying problem isn’t a loose screw at all.
That matters because cabinet door repair is usually far cheaper and simpler than replacement, but only if you diagnose the failure correctly before you start. A crooked door can come from a basic hinge adjustment, a stripped screw hole, a warped slab, or a cabinet style mismatch that changes the whole repair method.
Your Guide to Flawless Cabinet Doors
A lot of readers are probably standing in their kitchen right now with one door that sits lower than the others and makes the whole run of cabinets look tired. You tighten the visible screw, the door looks better for a day, and then it drops again. That cycle is common because the symptom is obvious, but the cause usually isn’t.
Cabinet doors are one of the most frequent small problems in the room that gets used hardest. According to responses from 10,400 Angi customers, 21% of homeowners reported the need for door repairs and 18% reported hinge-related repairs. That’s a good reminder that you’re not dealing with some rare defect. You’re dealing with normal wear in a high-use part of the house.
The useful question isn’t “How do I tighten this hinge?” It’s “Why did this door move in the first place?”
Practical rule: If a door goes out of alignment once, adjust it. If it keeps going out of alignment, diagnose it.
That’s the difference between a quick tweak and a lasting fix. Some problems are mechanical and easy. Some are structural and need repair to the wood, the mounting point, or the door itself. If the door is badly worn, swollen, or outdated, a replacement route can make more sense than repeated patching. For homeowners weighing that option, this guide to buy cabinet doors and refresh your space is a useful next step.
The rest of this article treats the job the way an installer would. Start with diagnosis. Confirm whether you have framed or frameless cabinets. Then match the fix to the failure instead of forcing every door problem into the same screwdriver solution.
Diagnose the Problem Before You Start
The fastest way to botch cabinet door repair is to assume every crooked door needs the same adjustment. It doesn’t. A reliable diagnosis takes a few minutes and saves you from chasing the wrong fix.
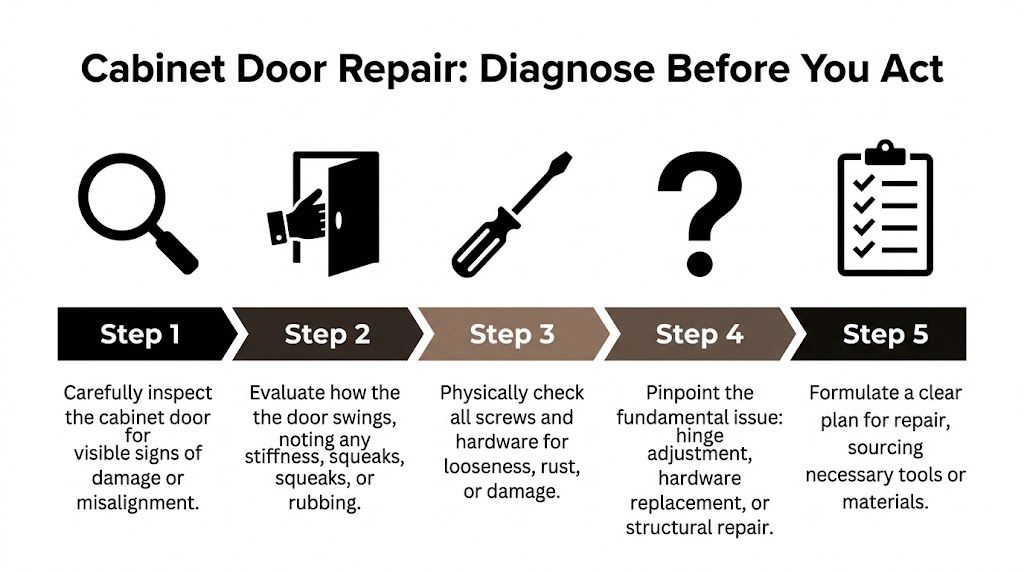
Start with what the door is telling you
Stand back and look at the reveal around the door. That gap tells you a lot.
- Door is low on the handle side: The hinge may be loose, the screw hole may be stripped, or the door itself may be pulling out of square.
- Door rubs at one corner: That often points to alignment drift, hinge wear, or mild warping.
- Door springs shut or won’t sit flat: Look for hinge damage, an obstruction, or a bowed door.
- Door looks aligned but feels rough when opening: Check for friction, hinge fatigue, or binding at the frame.
Then open and close it slowly. Don’t force it. Feel for resistance, listen for squeaks, and watch whether the problem appears at the hinge side, latch side, top edge, or bottom edge.
Check the screws before blaming the hinge
Use a hand screwdriver, not a drill, for the first pass. Put light pressure on each mounting screw and each adjustment screw.
If the screw tightens and stays tight, you may only have a minor alignment issue. If it spins without biting, or tightens for a moment and loosens again when you test the door, the wood behind it is probably the underlying problem.
That distinction matters. One repair guide notes that simple screw tightening succeeds 85% of the time for minor issues, hole repair reaches 90%, and full hinge replacement reaches 95%. The lesson is simple. Don’t keep retightening a stripped mounting point and expect a different result.
If the screw won’t hold, the hinge isn’t your first problem. The substrate is.
Identify framed or frameless construction
Many DIY repairs frequently go sideways. The cabinet style changes what “normal” adjustment looks like.
A frameless cabinet has a full-access opening with no face frame around the front edge. The door usually mounts to the cabinet box side, and adjustment on European hinges is straightforward. A framed cabinet has a face frame on the front of the box, and the hinge relationship to the opening is less forgiving.
Here’s the quick field check:
| Cabinet type | What you’ll see | Repair implication |
|---|---|---|
| Frameless | Clean box opening, no front face frame | Hinge adjustment usually handles small alignment issues |
| Framed | Wood frame around the cabinet front | Misalignment may involve frame interference, shimming, or mounting correction |
A lot of online tutorials ignore that difference. Forum data cited in a 2025 overview reports that 68% of “cabinet door won’t align” posts go unresolved because the frame type mismatch wasn’t addressed. That tracks with what happens in older homes and mixed remodels. A homeowner follows a frameless-hinge tutorial on a face-frame cabinet and ends up chasing the problem in circles.
Separate a warped door from a bad mounting point
Take the door off and place it on a flat surface if you’re unsure. If the corners rock or the slab visibly bows, you’re dealing with warping. If the door lies flat but the hinge side is loose on reinstall, the issue is probably at the screw hole or hardware.
Use this simple decision sequence:
- If the door lies flat and screws hold firmly, start with hinge adjustment.
- If the door lies flat and screws won’t hold, repair the stripped holes.
- If the door is visibly bowed or twisted, treat it as a door-shape problem.
- If you have a framed cabinet and the door still binds after adjustment, inspect the face frame and hinge mounting geometry before doing anything else.
That’s the point where cabinet door repair becomes efficient instead of frustrating.
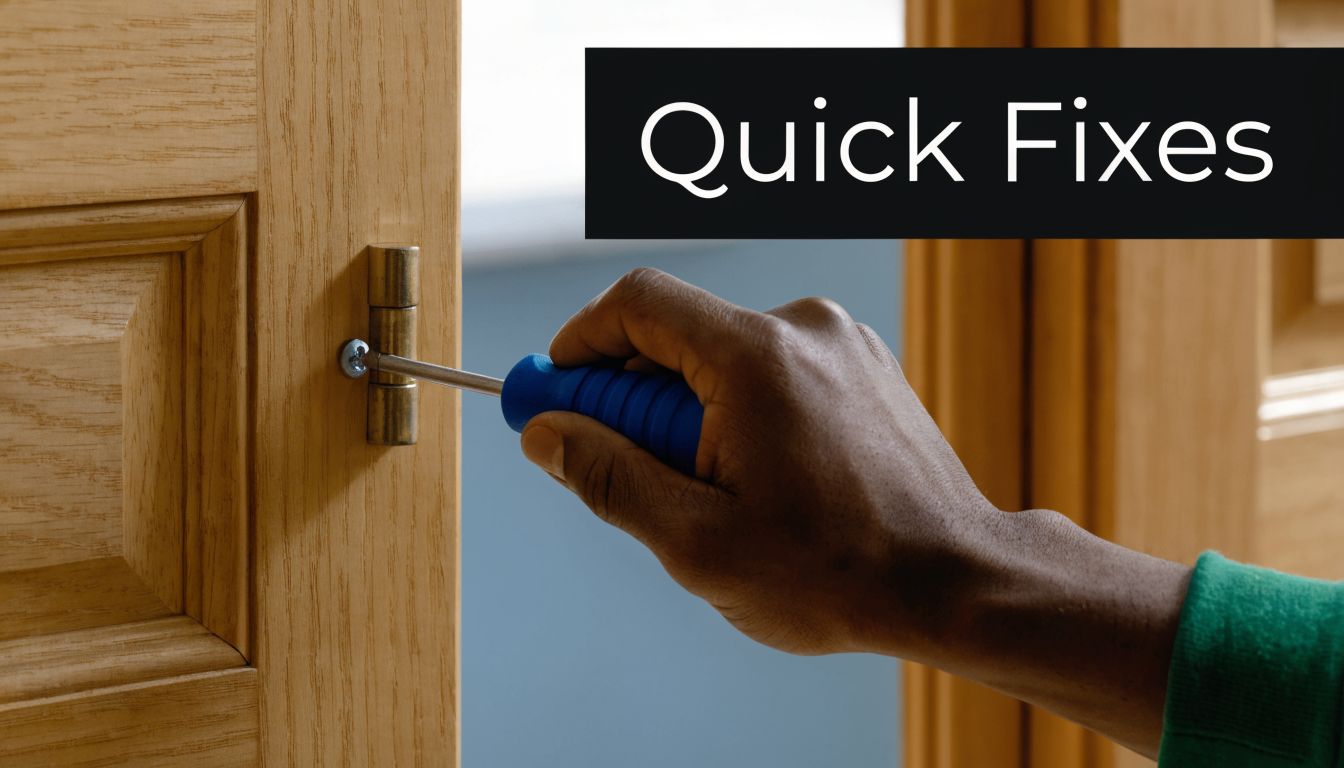
Quick Fixes Hinge Adjustments and Hardware Swaps
When the cabinet box is sound and the screw holes still hold, this is the satisfying part. A careful hinge tune-up can bring a tired-looking kitchen back into line fast.
Adjust European hinges the right way
Most modern cabinet doors use concealed European-style hinges. They usually offer three-direction adjustment. The exact screw layout varies by brand, but the working logic is consistent.
- Side-to-side adjustment moves the door left or right to even the gap between neighboring doors.
- Depth adjustment moves the door in or out so it sits flatter against the cabinet.
- Height adjustment raises or lowers the door, usually by loosening the mounting plate screws slightly and repositioning the hinge.
Start with tiny moves. A quarter turn can change the reveal more than you think.
A practical adjustment sequence
- Correct the height first. If the top and bottom margins are off, fix that before touching the finer adjustments.
- Center the side gap next. Line the door up with the one beside it.
- Set the depth last. This is what makes the face of the door sit cleanly with adjacent fronts.
After every change, close the door gently and step back. Looking straight at the cabinet bank tells you more than inspecting the hinge from six inches away.
Adjust one variable at a time. Homeowners get lost when they turn every screw on both hinges before checking the result.
Know when a quick tightening is enough
Some calls for cabinet door repair really are simple. A screw backs out slightly, the door droops, and a proper tightening fixes it. That’s a legitimate repair. It just isn’t the answer every time.
This short demonstration is useful if you want to compare hinge layouts before touching yours:
Use a manual Phillips screwdriver for final tightening. A drill driver can over-torque small screws, especially in older particleboard cabinets, and turn a quick fix into a stripped-hole repair.
Replace tired hardware without creating a new problem
Knobs and pulls are easier than hinges, but there’s still a right way to do them.
For a clean swap:
- Remove one piece at a time. That keeps hole spacing and orientation consistent.
- Check screw length. New pulls often come with machine screws that are too long or too short for your door thickness.
- Protect the finish. Lay a folded towel on the counter and set doors face-up if you remove them.
- Snug, don’t crush. Over-tightening hardware can spider-crack paint or compress softer door materials.
If you’re gathering replacement pieces, a broad selection of fasteners and fittings can help you match screw types, mounting hardware, and common cabinet components without improvising from a junk drawer.
What works and what usually doesn’t
A few trade habits make these small repairs last longer.
| Good move | Bad move |
|---|---|
| Tighten by hand first | Hit every screw with an impact driver |
| Adjust in small increments | Crank multiple screws and hope it lands right |
| Test the screw’s holding power | Assume a spinning screw is “almost tight” |
| Align the whole cabinet run visually | Focus on one hinge and ignore neighboring reveals |
The temptation is to keep tweaking when a door still looks wrong after several tries. Stop if the adjustments don’t hold. That usually means the issue has moved from hardware tuning into material repair.
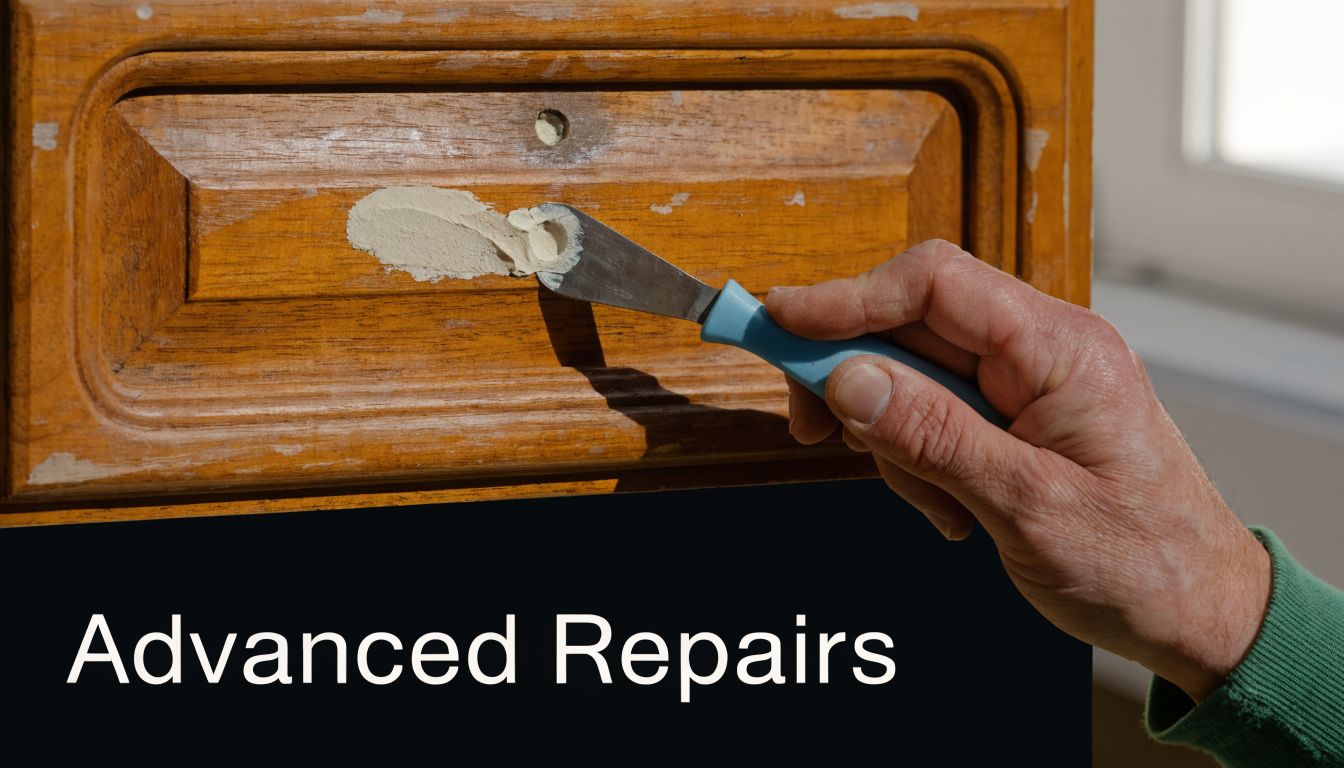
Advanced Repairs Stripped Holes and Surface Damage
If a hinge screw spins, wallows out the hole, or pulls free again after a day or two, the cabinet isn’t asking for another adjustment. It needs substance restored where the hinge mounts.
Repair stripped hinge holes so screws can bite again
Remove the door and hinge. Inspect both the door-side and cabinet-side mounting points. If the wood fibers are blown out, soft, or enlarged, screws won’t hold until you rebuild that hole.
Two dependable methods work for most homeowner-level repairs:
Wood filler method
This works best for light to moderate damage.
- Clean loose dust and broken fibers from the hole.
- Pack the hole firmly with a paintable or stainable wood filler using a putty knife.
- Let it cure fully according to the product instructions.
- Drill a fresh pilot hole in the correct location.
- Reinstall the hinge by hand.
Dowel or hardwood plug method
This is the stronger option when the original hole is badly enlarged.
- Drill the damaged opening to a clean, consistent size.
- Glue in a matching hardwood dowel or plug.
- Trim it flush after the adhesive cures.
- Mark the hinge location accurately.
- Drill a new pilot hole and reinstall the hinge.
If you’re choosing between them, use filler for minor blowout and dowels for repeated failures or larger voids. The repair is only as good as the material you’re screwing into afterward.
A hinge screw should feel firm before the last turn. If it spins and then “catches” unpredictably, the repair still isn’t solid.
Treat warping by severity, not hope
Warped doors fool a lot of people because they can look like a hinge issue from across the room. Once the door is off, the shape tells the truth.
A practical way to view this:
- Slight warping can respond to moisture reintroduction and careful monitoring.
- Moderate warping often needs clamping pressure over time.
- Severe warping usually means replacement is the smarter path.
A repair overview on warped cabinet doors notes three common methods, including moisture reintroduction, clamping, and ironing for minor issues. The same source also notes that premium hinges rated for 200,000 cycles outlast economy hinges rated for 50,000 cycles, and that economy hardware may need adjustment or replacement in 3 to 5 years while premium hardware can last 12 years or more. If you’re already taking a door apart, that’s the right moment to decide whether you want to reinstall bargain hardware or fix the problem once with better parts.
Clean up chips, scratches, and finish damage
Minor face damage is mostly about patience and color matching.
For painted wood or MDF doors:
- Clean first: Remove grease, wax, and dust so filler and paint can bond.
- Fill shallow chips: Use a putty knife and let the patch dry fully.
- Sand lightly: Feather the edge so the repair disappears into the surrounding finish.
- Prime and topcoat: Spot-paint if the sheen will blend. Refinish the whole face if it won’t.
For laminate or thermofoil, the job gets trickier because the finish layer behaves differently than paint on wood. If you’re dealing with lifting skin rather than a simple chip, this guide on how to repair peeling thermofoil cabinets is worth reading before you start peeling or gluing anything back down.
Paint failure often starts small and keeps spreading at edges and corners. If that’s your issue, this article on stopping cabinet paint chipping gives a useful maintenance-focused approach.
A few repairs that usually disappoint
Some shortcuts look appealing and don’t hold up well.
- Longer screws without repairing the hole: Sometimes they catch deeper material. Often they split weaker substrate or miss proper alignment.
- Heavy heat on a warped door: Too much heat can damage glue lines, finishes, or veneer.
- Filler without a pilot hole: Screws driven directly into cured filler can wander and crack the repair.
- Cheap replacement hinges on a stressed door: If the door is heavy or frequently used, low-grade hardware often puts you back in the same problem cycle.
Good cabinet door repair isn’t just about making the door close today. It’s about making sure it still closes cleanly months from now.
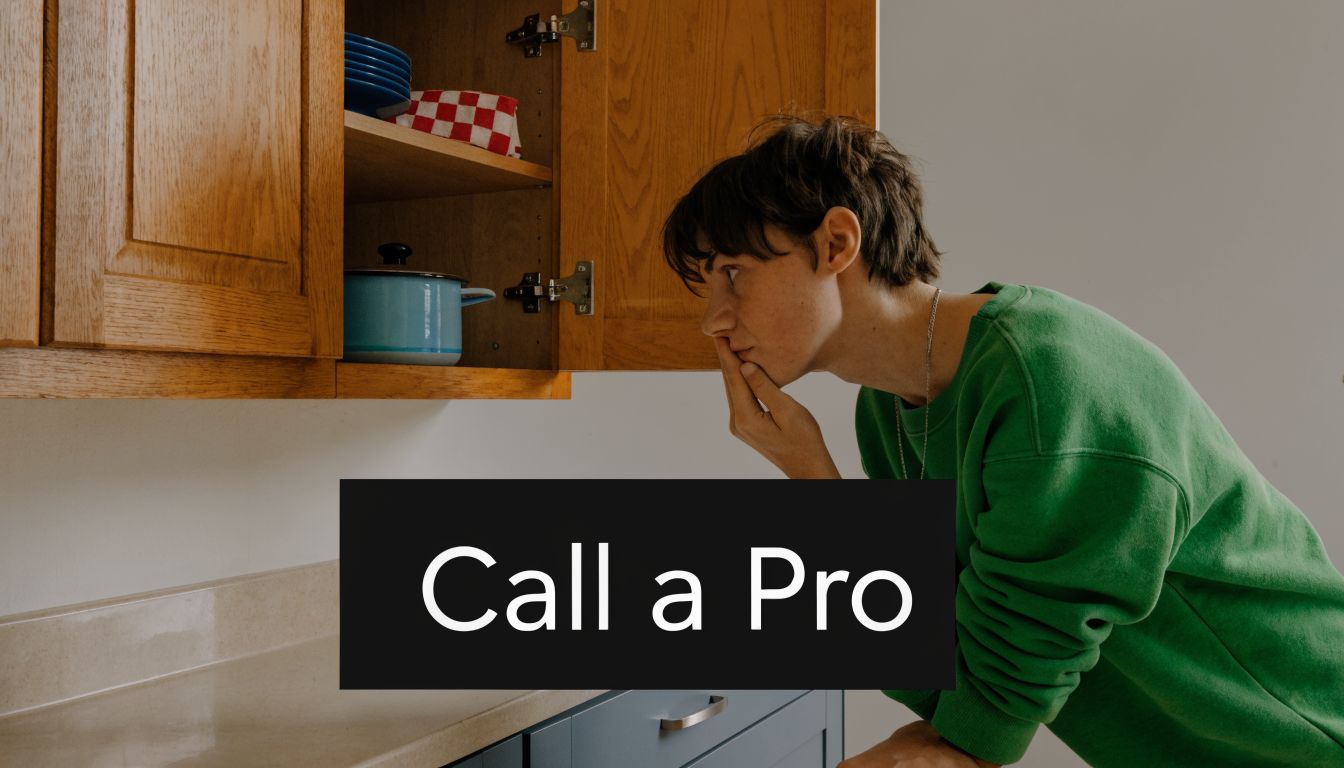
Knowing When to Call a Professional
A skilled homeowner can handle a lot of cabinet door repair work. The trick is knowing when the repair has crossed from careful DIY into work that can damage the cabinet further, ruin the finish, or cost more to undo later.
Cases where DIY still makes sense
Keep going on your own if the problem stays inside these boundaries:
- Minor hinge drift: The screws hold, the box is solid, and the door responds to normal adjustment.
- Single stripped hole with clean surrounding material: A careful filler or dowel repair is reasonable.
- Light cosmetic damage: Small chips, shallow scratches, and limited touch-up work are manageable if you’re patient.
- Hardware refreshes: New knobs, pulls, and hinge swaps are straightforward when the door and cabinet structure are sound.
These are repair jobs. They don’t usually require reconstruction.
Red flags that justify professional help
Call a pro when you see the problem affecting more than the hinge itself.
- Water damage around sink bases or hinge areas: Swollen particleboard and softened wood don’t hold repairs the same way dry material does.
- Severe warping: If clamping and mild correction don’t move the door, forcing the issue can crack joints or damage the finish.
- Broken face frames or cabinet boxes: Once the cabinet structure has shifted, door adjustment becomes secondary.
- Multiple failing doors in the same run: That often points to installation drift, worn hardware across the set, or cabinet movement.
- Factory-grade finish expectations: If you’re trying to match a sprayed painted finish perfectly, brush-and-patch methods usually won’t get there.
The more visible the cabinet line is, the less forgiving a “good enough” repair becomes.
Look at the money the same way a contractor does
Financial considerations can simplify the decision. HomeGuide reports cabinet repairs average $120 to $600, while full replacements can cost $4,500 to $15,000. A single door repair may run $100 to $400, while replacing all the doors in a small kitchen can cost $2,000 to $2,500.
That gap is why targeted professional repair often makes financial sense. You’re not choosing between free DIY and expensive contractor work. You’re often choosing between a focused repair bill now or a much larger replacement bill later if the damage spreads or the cabinet becomes unserviceable.
A simple decision filter
Use this if you’re on the fence:
| Situation | Best next move |
|---|---|
| One door, one hinge, solid cabinet | DIY adjustment or hole repair |
| Repeated failure after adjustment | Stop and inspect for stripped holes or warping |
| Soft substrate, swelling, or water staining | Professional evaluation |
| Several doors misaligned at once | Professional diagnosis |
| Finish must match exactly before sale or move-in | Professional repair or refinishing |
For property managers, sellers, and buyers preparing to move into a home, speed and consistency matter as much as price. A door that sort of closes isn’t the same as a cabinet line that looks intentional and works every time.
Your Essential Cabinet Door Repair Toolkit
The right toolkit depends on the repair, not on how ambitious you feel at the hardware store. Buying for the exact job keeps the process clean and avoids turning a half-hour fix into a bench full of unused supplies.
For basic hinge adjustments
Keep this kit simple:
- Phillips screwdriver: Use a hand driver for better control.
- Small level or straightedge: Helpful when lining doors across a run.
- Tape measure: Good for checking uneven reveals.
- Pencil: Mark hinge positions before loosening anything.
- Magnetic parts tray: Tiny hinge screws love disappearing.
If you’re tuning multiple painted doors, put down a towel or moving blanket before removing anything.
For stripped hole repair
This kit is for restoring holding power:
- Wood filler or hardwood dowels
- Putty knife
- Wood glue
- Drill and drill bits
- Pilot bit sized for hinge screws
- Utility knife or flush-cut saw for trimming plugs
- Sandpaper
Buy the filler or plug method based on the damage. If the hole is slightly enlarged, filler may be enough. If the hole is blown out from repeated failures, go straight to a dowel repair.
For surface touch-up and minor warping work
This is the more finish-sensitive category:
- Fine-grit sandpaper
- Primer for painted doors
- Matching paint or stain
- Small artist brush
- Clamp
- Clean rags
- Protective cloth for gentle heat applications
- Painter’s tape
If you’re touching up painted faces, test your finish strategy on the back edge or an unseen spot first. If the cabinet needs broader cosmetic revival instead of isolated repair, this guide on how to refinish kitchen cabinets and give your space a fresh look is the better shopping list.
A solid cabinet door repair starts before the first screw turns. Match the tools to the diagnosis, and the work gets easier fast.
If your cabinet doors need more than a quick adjustment, SouthRay Kitchen & Bath can help with targeted repairs, finish updates, and full kitchen or bath improvements across Northern Colorado. Their team handles everything from practical fixes to larger remodels with clear pricing, coordinated scheduling, and design guidance that keeps the end result looking intentional.